| Story of the Green Canoe |
|
More on the Inside than the Outside ! (work that is)
1 Sept 2007 - Epoxy on the inside
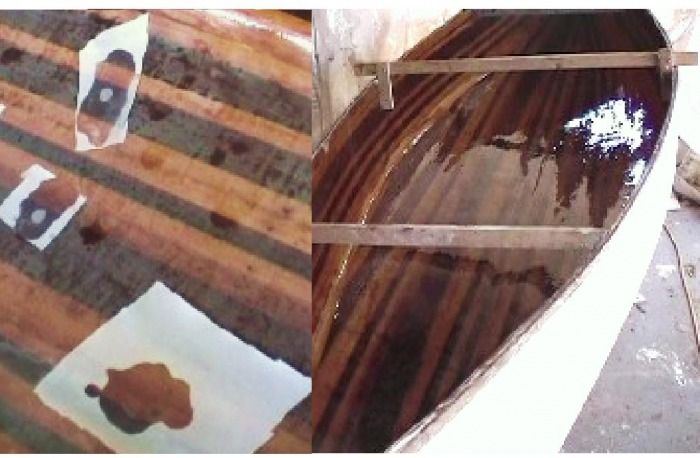
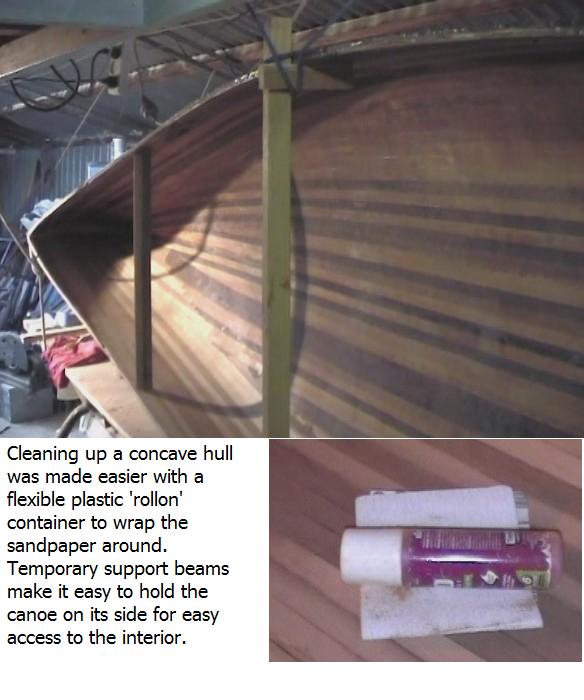
The interior has been completed enough to put the first layer of epoxy on the wood before applying the glass cloth. Sanding concave surfaces is a lot of work, and is made easier by turning the canoe over on its side. This meant some temporary bracing to ensure the hull retained its proper shape. The pink flexible round plastic "insect repellant" container in this picture was a great way to sand the curved insides. Getting rid of the marks created by power tools was time consuming. The first entire coat of epoxy has now been applied to the interior, and was then sanded back prior a second coat. A common mistake is to fill the holes before the first epoxy coat. This can make for weird looking patterns around the fill holes. So, after the initial coat, I have been filling in any minor voids with 'jarrah dust' ( very fine sandings from Jarrah - a very hard timber like Mahogany) mixed with epoxy. This makes a natural looking finish that can be sanded and re-coated for a great finish without excessive 'fill marks".
Great Boating Quips Give a man a fish and he will eat for a day. Teach him how to fish, and he will sit in a boat and drink beer all day."
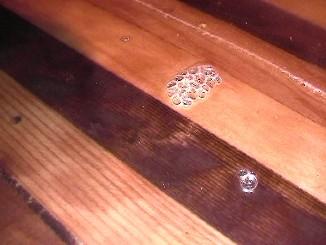
More coats of epoxy on the inside. I have been just doing a coat on the horizontal inside. ie. lay the boat on its Port side, and paint the Port side only. Lay the boat up the right way, paint the bottom only. This way, gravity helps to avoid a case of the 'runs'. While doing the bottom of the boat on the second coat, I laid a strip of fibreglass tape up the middle as well as a coat of resin. Starting the structural additions. I laid that coat on, on quite a cold morning. The epoxy documentation I have read warns about a possible occurrence of 'outgassing' in this kind of weather. Sure enough, little bubbles of epoxy formed as I painted. It wasn't too bad, and I got most bubbles out by re-painting over them, but a few formed when I had given up and gone away. I had only done the bottom of the inside, so the affected area was quite small. I have heard of some poor souls who did a whole hull, and then came back to see a mass of frozen bubbles that would have to be sanded back and re-done. That would be really nasty.
NOTE - 30th March 2008 - laying the strip of fibreglass ribbon up the centre was a mistake. Most of it had to be sanded off as the edges of the ribbon strip bunched up and did not lay flat. The extra thickness detracted from the clear finish inside. I would have done better to cut a much wider section of cloth to lay up the middle, and put it on LAST ( just prior to varnishing)
Great Boat Quips "Please pray for my husband. He spends most of his time playing with boats!"
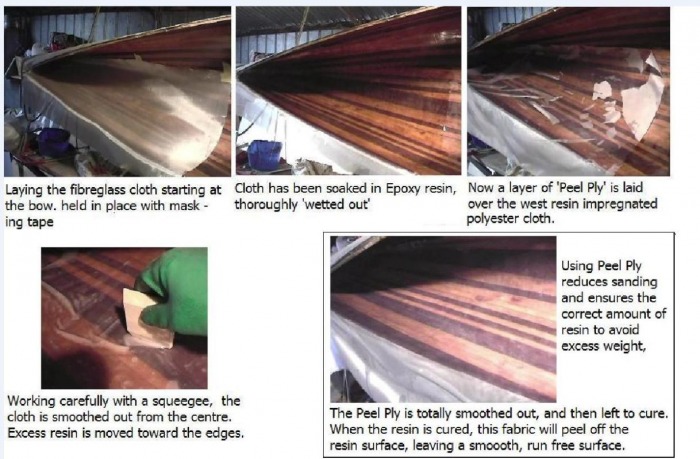
Getting laid -16 October 2007
The entire inside of the canoe has had two layers of epoxy applied, which has been sanded back between coats. Now comes the layup of the actual fibreglass cloth. I have decided to do it in small sections. I will lay 1 metres wide cloth in sections that run from the keel to the gunnel, and overlap along the keel, and with each other. This will mean that along the keel are two layers of cloth, and every one metre there is an overlap, with two layers acting like ribs in the boat. I am using 'peel ply' to reduce the amount of sanding, and optimise the amount of epoxy to avoid excess weight. REVISED PLAN - the better approach would have been to lay the cloth as 'quarters'. Port Side from bow t0 centre (where the rib will cover the join), S'Board side - from Bow to the centre of the hull etc. Doing it in small sections was only slightly easier, and left visible join marks where they weren't needed.
Tricky Finish Problem
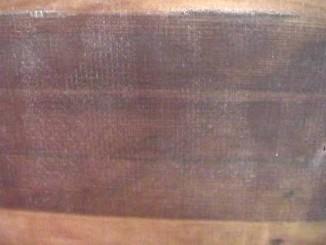
I have been having fun trying to get as good a clear finish as possible, just for the heck of it. I noticed something during application of the West Systems resin onto the 6 oz fibreglass. In the picture below, you will see small patches of totally transparent areas, and others that show a little bit of the fibreglass fabric. The difference is that the totally transparent areas were applied by pouring the resin onto the fabric, while the other areas were brushed or rolled on as the resin was spread out.
NOTE - Feb 2018 - on other projects, I found that a little warmth from a heat gun, will cure this problem of incomplete wetting out.
After much research, I determined that for those that want a perfectly clear finish, you need to use West Systems Hardener No 207, all the others are "Not Recommended for Clear Finish" ( in small print in their 20 page instruction booklet). This special hardener will be hard to find because it costs more than the four litres of resin you apply it to. This would be important for anyone wanting a really clear finish.